Allure Reporter
A WebdriverIO reporter plugin to create Allure Test Reports.
Installation
The easiest way is to keep @wdio/allure-reporter as a devDependency in your package.json.
{
  "devDependencies": {
    "@wdio/allure-reporter": "^5.0.0"
  }
}
You can simple do it by:
npm install @wdio/allure-reporter --save-dev
Configuration
Configure the output directory in your wdio.conf.js file:
exports.config = {
    // ...
    reporters: [['allure', {
        outputDir: 'allure-results',
        disableWebdriverStepsReporting: true,
        disableWebdriverScreenshotsReporting: true,
    }]],
    // ...
}
outputDirdefaults to./allure-results. After a test run is complete, you will find that this directory has been populated with an.xmlfile for each spec, plus a number of.txtand.pngfiles and other attachments.disableWebdriverStepsReporting- optional parameter(falseby default), in order to log only custom steps to the reporter.issueLinkTemplate- optional parameter, in order to specify the issue link pattern. Reporter will replace{}placeholder with value specified inaddIssue(value)call parameter. Examplehttps://example.org/issue/{}tmsLinkTemplate- optional parameter, in order to specify the tms link pattern. Reporter will replace{}placeholder with value specified inaddTestId(value)call parameter. Examplehttps://example.org/tms/{}disableWebdriverScreenshotsReporting- optional parameter(falseby default), in order to not attach screenshots to the reporter.useCucumberStepReporter- optional parameter (falseby default), set it to true in order to change the report hierarchy when using cucumber. Try it for yourself and see how it looks.disableMochaHooks- optional parameter (falseby default), set it to true in order to not fetch thebefore/afterstacktrace/screenshot/result hooks into the Allure Reporter.
Supported Allure API
addLabel(name, value)- assign a custom label to testaddFeature(featureName)– assign feature to testaddStory(storyName)– assign user story to testaddSeverity(value)– assign severity to testaddIssue(value)– assign issue id to testaddTestId(value)– assign TMS test id to testaddEnvironment(name, value)– save environment valueaddAttachment(name, content, [type])– save attachment to test.name(String) - attachment name.content– attachment content.type(String, optional) – attachment MIME-type,text/plainby default
addArgument(name, value)- add additional argument to testaddDescription(description, [type])– add description to test.description(String) - description of the test.type(String, optional) – description type,textby default. Values ['text', 'html','markdown']
addStep(title, [{content, name = 'attachment'}], [status])- add step to test.title(String) - name of the step.content(String, optional) - step attachmentname(String, optional) - step attachment name,attachmentby default.status(String, optional) - step status,passedby default. Must be "failed", "passed" or "broken"
Usage
Allure Api can be accessed using:
ES5
const { addFeature } = require('@wdio/allure-reporter').default
ES6
import allureReporter from '@wdio/allure-reporter'
Mocha example
describe('Suite', () => {
    it('Case', () => {
        allureReporter.addFeature('Feature')
    })
})
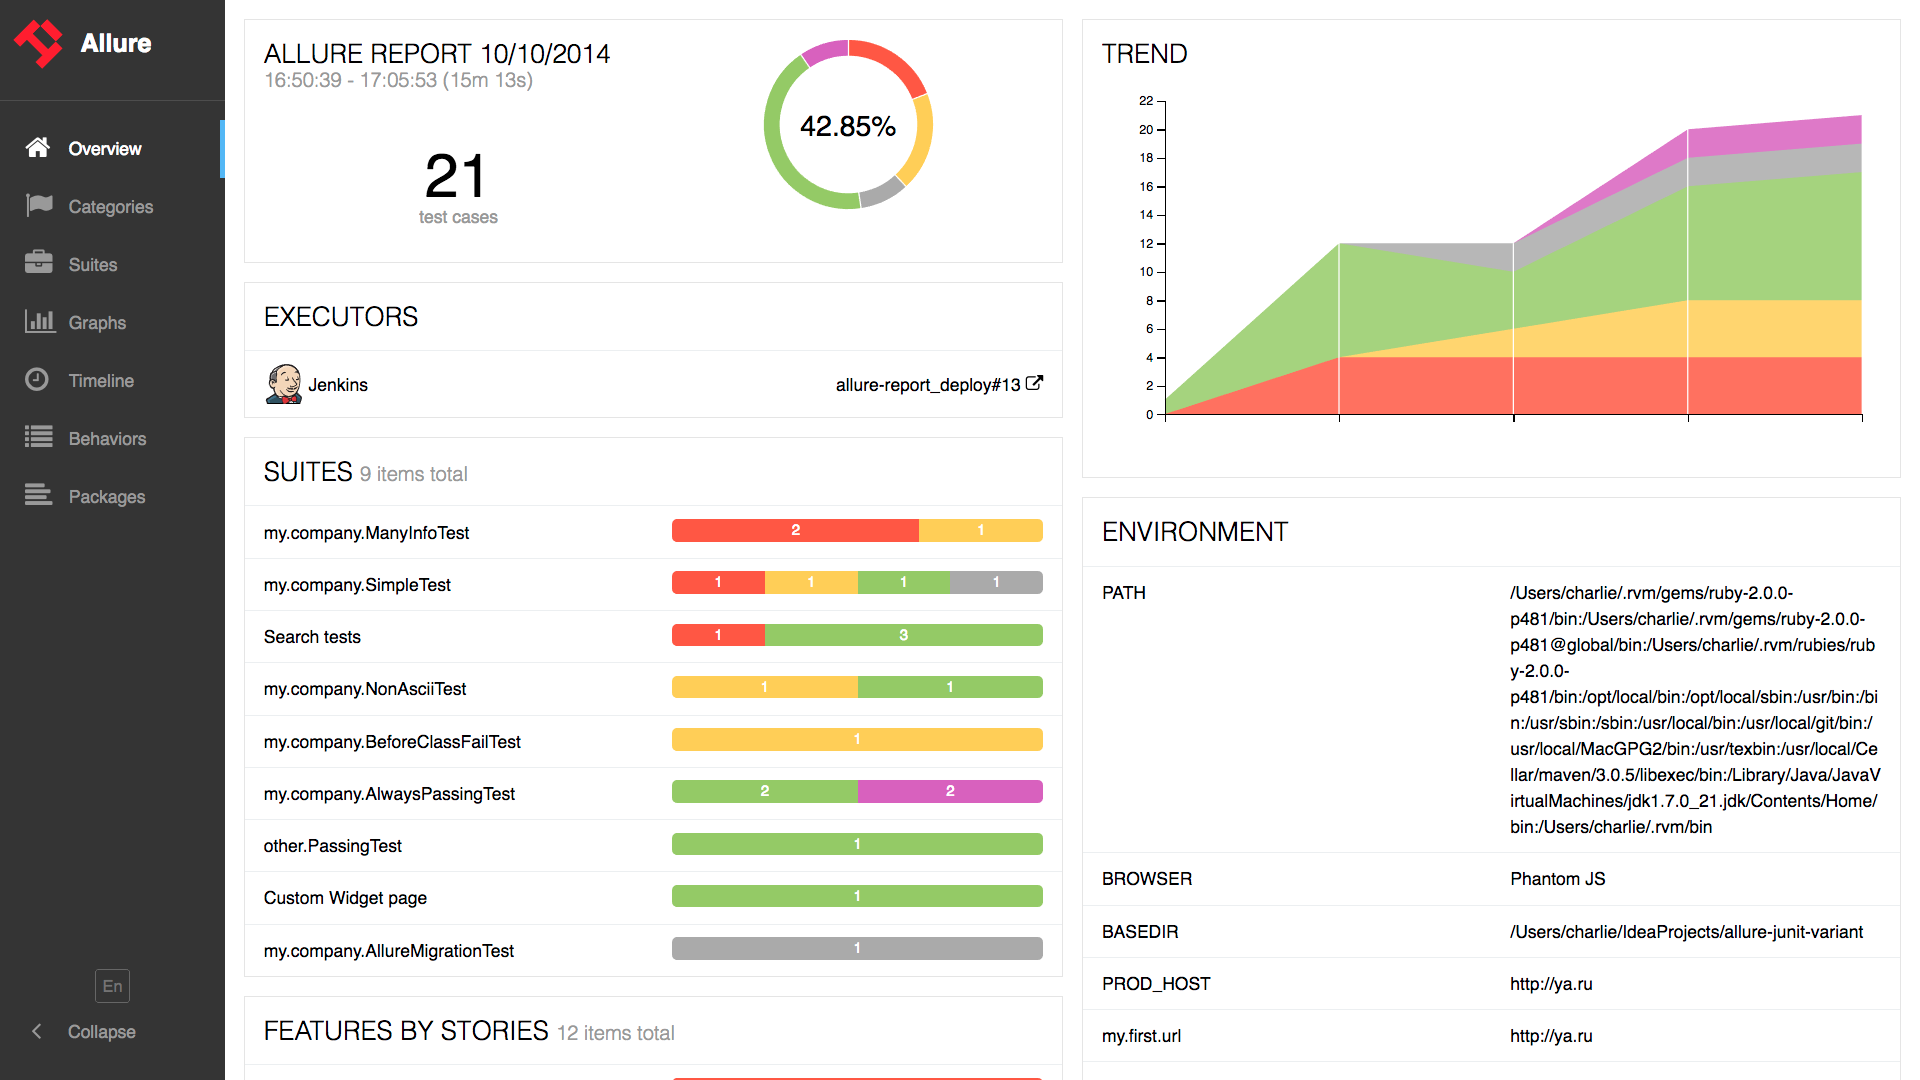
Displaying the report
The results can be consumed by any of the reporting tools offered by Allure. For example:
Command-line
Install the Allure command-line tool, and process the results directory:
allure generate [allure_output_dir] && allure open
This will generate a report (by default in ./allure-report), and open it in your browser.
Jenkins
Install and configure the Allure Jenkins plugin
Add Screenshots
Screenshots can be attached to the report by using the takeScreenshot function from WebDriverIO in afterStep hook.
First set disableWebdriverScreenshotsReporting: false in reporter options, then add in afterStep hook
afterTest: function(test) {
    if (test.error !== undefined) {
      browser.takeScreenshot();
    }
  }
As shown in the example above, when this function is called, a screenshot image will be attached to the allure report.